*VIDEO* BASE MAKEUP by Marisel Part 1 and 2
So whats the magic KEY to perfect makeup ?
-To get a PERFECT BASE-
That is so important my friends,cus without a GOOD makeup base Nothing is going to look good on you. Its like you would draw or paint on a paper thats already been used. It will never be the same result as if you would paint on a new piece of white paper , right? I hope you do understand what Im trying to say :P
So,I did this tutorial that was actually requested a few times and I have to admit that it was , ahmm.. well an easy decision to make yet the hardest video to DO, and now you are asking , WHY is that? Ha ha ha Well, we all know that we aren´t perfectly perfect somehow, and we all got our things that We DON´T like about ourselves,right? haha and to be really honest, WHO wants to show their NAKED FACES to the whole world, just like that? hahaha NOBODY but you know what sweetypies,I DID and I didn´t care :P I actually had fun doing this tutorial and I thought, what the heck ,I gotta do it because how can I possibly keep doing makeup looks WITHOUT showing them how to get a flawless and great base makeup, because that is the KEY to a perfect look. MUY IMPORTANTE (as we say in spanish)!!! So here we go, from me to you all.
Click PLAY for a NAKED NUDE MARISEL ha ha ha tha UGLY TRUTH!!!! hahaha noooo!!! Im just kidding 
Before I tell you the steps I just wanna say that Im typing this in English because my video is in SWEDISH, ( I know Im sorry but I will do videos in english eventually)
So...
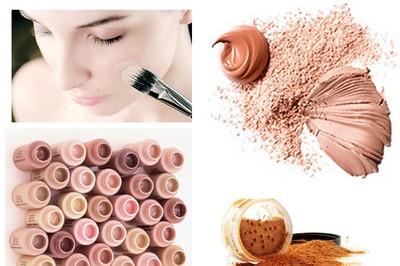
STEP 1: FOUNDATION
To get a perfect base we need to first of all moisturize our skin,and then find a perfect match of FOUNDATION. I could go on and talk about different foundations and concealer for hours but that another chapter so. If you already have a foundation to use, then apply it with,whatever your choice may be but you can use : sponge,foundation brush ,Kabuki brush or your hands (of course your hands need to be CLEAN) So apply it from the middle and outwards,

This is a foundation Kabuki brush
STEP 2: CONCEALER
Every single one has its own techniques but I usually always begin with foundation and THEN concealer, because sometimes you can get rid of "imperfections" red spots,etc with the foundation, but if it doesn´t cover all then you´ll see where you´ld need concealer,and you wanna work with it with small amounts. Make sure you see where your dark spots are and cover it with the "redpink" colored concealer and the RED spots with the more "yellowgreen" concealer. PAD PAD PAD it carefully.
STEP 3: POWDER
Make sure the foundation and concealer is well blended .And you can use translucid loose powder for this and with a puff or a larger brush depending on how you want it. And you don´t have to powder all of your face because we want to achive a glowy look so Pick up the powder on the puff and press it on the face, one area at a time.I always press the powder in the middle,or I mean where I know I get very oily.Now using a soft, thick powder brush you can brush away the excess, with downward movement to stop the powder getting caught in the fine facial hair.
STEP 4 HIGHLIGHTING
Pad on a crem Highlighter onto the top of your cheekbones and this AFTER any type of shading (countoring) of course and after the blush,but I´ll get to that in another video and then to make it stay all day long you will have to brush on some highlight powder on top of the cream .
And there you have it the perfect glowy super nice BASE MAKEUP!
Stay tuned for more tips and tricks and EXTRA STEPS to get the perfect Base! another video is coming ...
STAY TUUUUUNED!!! And don´t forget to subscribe dear readers
I hope you ´like it Muaaaaaaaaaaaah!!!
************************************************
PART 2
Lite mer detaljerat, excuse mitt ritande but I did it in a hurry I hope you Understand 
jättebra video. Du har fin hyd utan smink också :D
